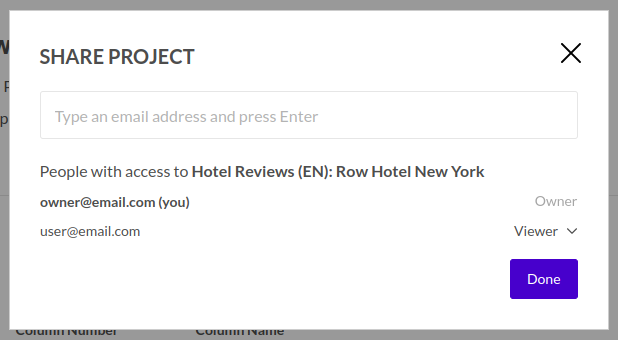
Projects in the explorer can be shared with other explorer users. By sharing a project, the receiving users can view the project's Advanced Modelling, Dashboard, Settings and History but can't edit it or explore it.
Sharing a project
To share a project you can click on the 3 dots next to a project in the project's page and select the Share option or you can go to the project's Settings and to the Share Project section.


Once you click on the Share action, you'll be greeted with a popup where you can modify access rights for users. Just add the email of an Explorer user to add them to the list of accounts that can see this project, or click on the "X" in their respective entry to remove their access.

The project will be added to the users' account automatically, from where they will be able to access. An email will also be sent to specified users notifying that the project has been shared with them.
Viewing a shared project
Once a user has a shared project in their account, they can access it as any other project through the Project's page. You'll notice that shared projects with you will have a 'shared' icon next to it to differentiate it. Once inside a shared project you can view all aspects of the project and its analysis, but cannot edit any details or trigger an analysis.
Advanced Modelling
In Advanced Modelling you can view all details of the project's topic structure, analysis and model.

Dashboard
In the Dashboard you will be able to view the dashboard with its current configuration, without being able to edit any details.
Settings
In Settings you can view all configuration applied to the project as well as reports and appended data.

History
In History, you can view all versions of the project and can compare between them. Actions such as rolling back to a previous version cannot be performed.

